Cleaning – Sticky Interior Trim Panels
One of the most common issues found on the Figaro is the dreaded ‘sticky’ interior trim syndrome! When the car was manufactured back in 1991 Nissan finished the internal space in ivory and clad the cockpit using plastic trim panels, many of which use blind clips to hold them in place. Nissan state in their marketing blurb (published in February 14th 1991) that “a special paint is applied to the dashboard” and this is the same as the paint used on the interior panels.
WHAT CAUSES THE PLASTIC TO BECOME STICKY?
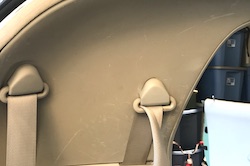
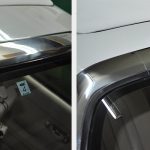
Above shows how panels can become blotchy or scratched where the paint has been removed exposing the original plastic (lighter colour).
Our theory is that Nissan used softeners and plasticizers to make the plastic trim more pliable to help assembly. Over time with the combination of heat and UV these plasticizers migrate into the surface and combine with other materials on the plastic such as the ‘Special Paint’ used by Nissan and interact which to the touch then feel sticky.
Visual Signs
You can also see this effect as the painted ivory surface can become ‘blotchy’ and or look ‘scratched’ exposing the original plastic which will look like a lighter ivory colour. This occurs because the paint has lost its adhesion meaning its very easy to scratch the surface, especially around the safety belt anchoring points and front windscreen edges.

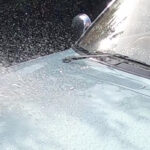
Use Soda Crystals to clean the plastic
HOW TO CLEAN AND REMOVE THE STICKYNESS
DO NOT USE SOLVENTS SUCH AS WHITE SPIRIT OR THINNERS AS THIS WILL MELT THE PLASTIC AND PAINT!
Cleaning with Soda Crystals
Initially we recommend using Soda Crystals which is readily available and inexpensive. The cleaner is also not to aggressive on the panels. Mix 1/5 using 1 Cup (200g) to 1 Pint (500g) of hot water. You can clean the panels whilst they are in situ within the car, however if you really want to do a thorough clean and get to all the surfaces the panels will need to be removed (see below ) but this will require care and a trim removal tool.
Before you start we recommend using the cleaner on a part of the car that is not always visible as a Test Area. Say near the rear seat base so you can get used to the cleaning process. If you wish you can remove the paint by applying with a Magic Sponge but do not apply to aggressively as it can actually mark the plastic. Using a warm bucket of water, wash the cleaner away and dry.
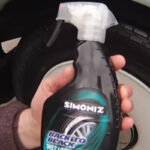
 Cleaning with Traffic Film Remover
If you are finding that after using Soda Crystals the area is still sticky then you could try applying Traffic Film Remover. This product is actually designed to remove road grime without damaging the paintwork or mechanical parts of your car. It is more powerful than Soda Crystals but we always recommend trying it in a small test area first.
To mix use 1 part to 100 parts water and apply to surface. For a more powerful mix dilute 1 part with 50 parts water. Apply to surface and leave to work for up to 5 minutes. Do not allow the product to dry on surface.
Dry off with a cloth and if necessary repeat until you are happy with the finish.
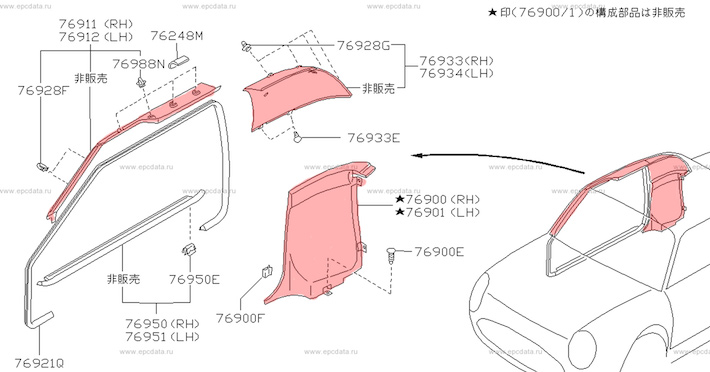
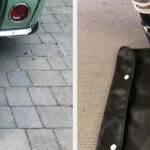
Removing the panels
If you have time and want to do a thorough job then it’s best to remove the trim panels and work on them away from the car. To do this you will need to remove any rubber seals and then use a trim tool to pop the clips out, be careful not to break them! Once out of the car you can now clean with using the two methods above.
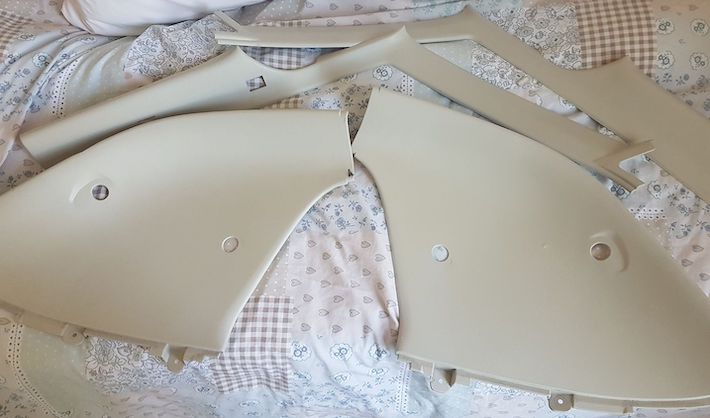
Below is an example of how to remove 3 trim panels. We have coloured the panels pink to identify them. Our tip is to take your time and edge the trimming tool along the trim lifting carefully as you go. Some of the fixing plugs are blind so you do not know their location until the panel popped out.
Below is an example of set that has been cleaned.
Painting the panels
Some owners have sent the cleaned panels off to a body shop to be repainted all of them back to the original colour of Ivory. If you wish to do this then the colour code is W120/Y2/B3/50.5
Related posts:
 Cleaning – Kevin discovers wonder polish to use on your Figaro
 Cleaning – Washing how to wash a Nissan Figaro video
 Cleaning – Lower Boot Tray and Tool Kit from a Nissan Figaro restoration video
 Cleaning – Seat Belts how to clean on a Nissan Figaro video
 Cleaning – Cleaning, detailing & valeting
 Cleaning Agents – a review of Nissan Figaro cleaning agents video
 Cleaning – Windscreen Surround how to polish on a Nissan Figaro video
 Cleaning – Drain Holes how to clean to allow water to drain on a Nissan Figaro video